
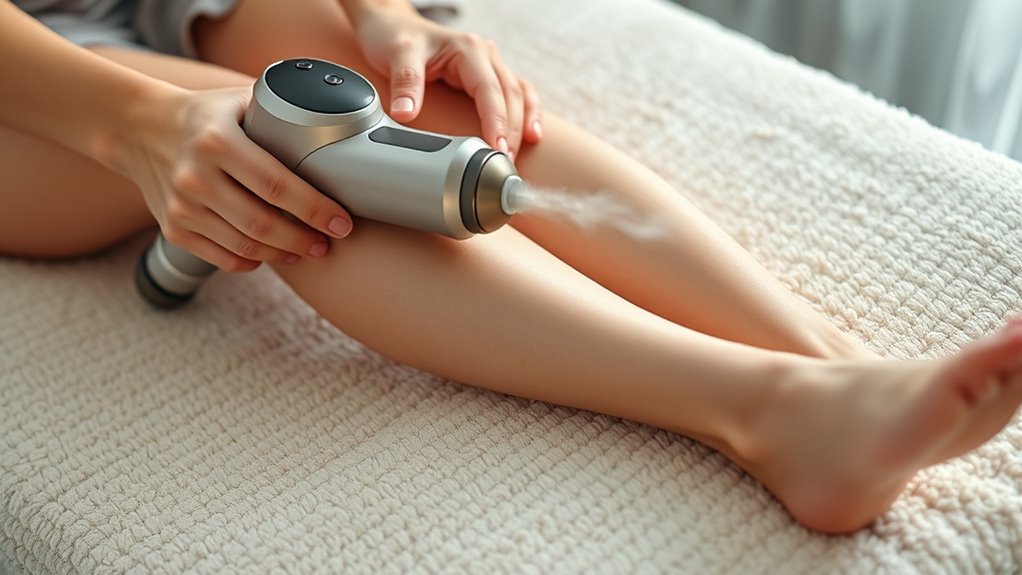
To relieve your calves with a massage gun, first gather your equipment and find a comfortable, quiet space. Position yourself so you can easily reach your lower legs, keeping your back straight. Start with gentle, slow strokes along the muscles, focusing on any tense or painful spots. Adjust the speed and pressure gradually, avoiding bony areas, until you feel relief. For detailed tips on targeting specific areas, keep exploring how to get the most from your massage gun.
Key Takeaways
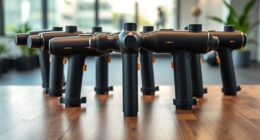
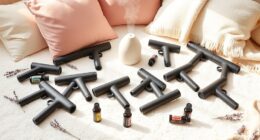
- Prepare a comfortable space, gather your massage gun and attachments, and understand calf anatomy for targeted relief.
- Select gentle settings and gradually increase intensity, monitoring comfort to avoid overstimulation or discomfort.
- Position yourself sitting with legs supported, and move the gun slowly along calf muscles, focusing on knots and tender areas.
- Cover the entire calf with deliberate, smooth strokes, applying gentle pressure to ensure thorough muscle relaxation.
- After massage, hydrate, perform light stretching, remove lotion gently, and apply moisturizer for optimal recovery.
Gathering Your Supplies and Preparing Your Space
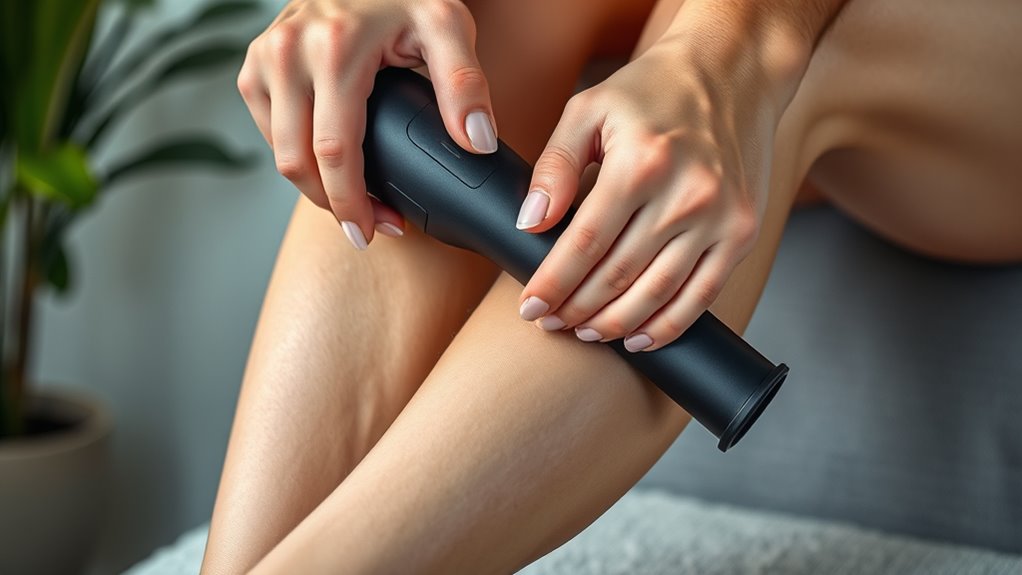
Before you begin relieving your calf pain, gather all the necessary supplies and set up a comfortable, clutter-free space. Understanding calf anatomy helps you target the right muscles for effective relief, so have your massage gun and attachments ready. A clean, quiet area minimizes distractions and allows you to focus on your massage, enhancing the massage benefits. Use a mat or soft surface to keep yourself comfortable during the process. Keep a towel nearby for wiping off excess oil or sweat. Proper setup guarantees you won’t need to stop midway, making the session more efficient. Preparing your space and supplies beforehand helps you stay relaxed, confident, and ready to enjoy the full benefits of your calf massage. Additionally, being aware of muscle groups involved ensures you target the affected areas accurately.
Choosing the Right Massage Gun Settings for Calves
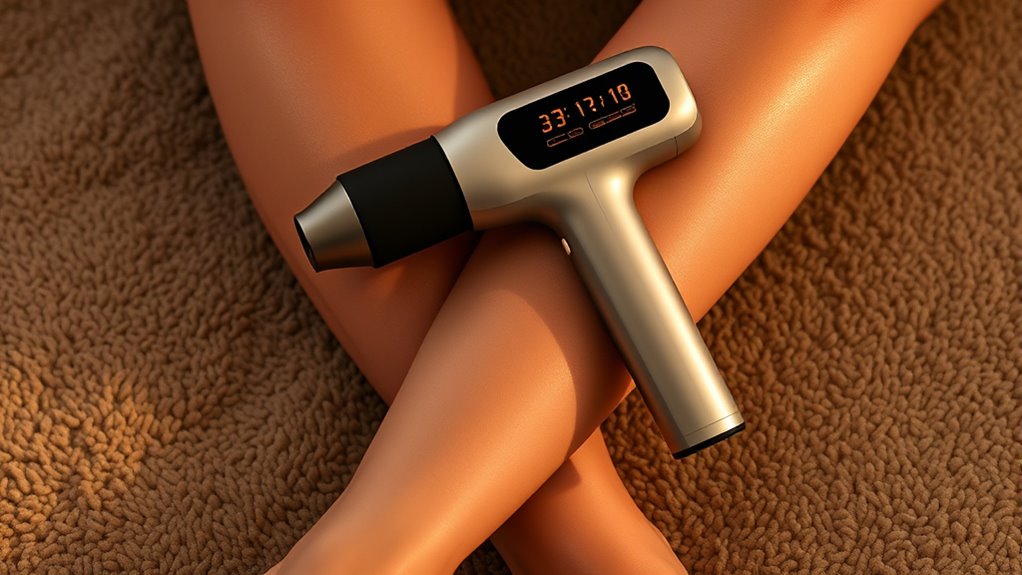
Selecting the appropriate massage gun settings is crucial for effectively relieving calf pain without causing discomfort. To promote muscle recovery and achieve pain relief, start with a low to medium intensity setting. A gentle, slower percussive speed allows your muscles to relax without overstimulation. Pay attention to how your calves respond—if you feel any discomfort, dial back the intensity. For deeper muscle relaxation, gradually increase the speed or pressure, but avoid going too high too quickly. Focus on maintaining steady, controlled movements to target tight or sore areas effectively. Using the right settings ensures you get the benefits of improved circulation and reduced soreness, all while preventing strain or irritation. Remember, patience and moderation are key for ideal calf muscle recovery. Incorporating appropriate techniques can further enhance your massage benefits and promote quicker healing.
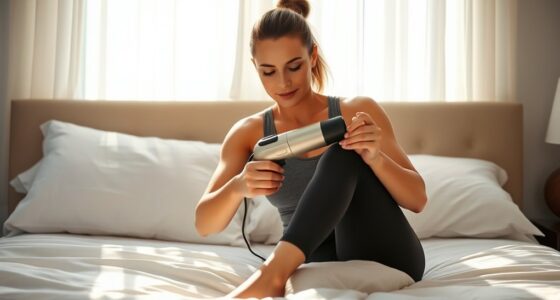
Positioning Yourself for Optimal Access to Your Calves
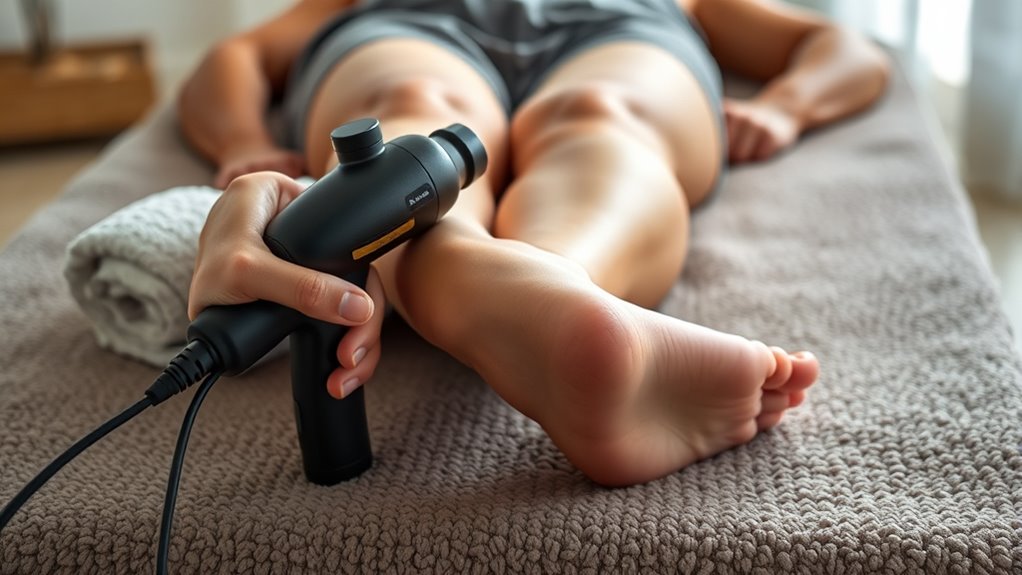
Find a comfortable seat where you can easily reach your calves without strain. Adjust the massage gun’s angle to target the entire muscle effectively. Make sure you cover the full area of your calves for the best relief. Incorporating consistent pressure and movement can further enhance muscle relaxation and recovery, similar to how contrast ratio influences image quality in projectors.
Find Comfortable Seating Position
To access your calves comfortably, you need to sit in a position that provides stability and ease of reach. Sit on a sturdy chair or edge of a surface where you can relax your legs. Keep your back straight and avoid strain. Use hydration tips like drinking water beforehand, as well-hydrated muscles are more responsive. Knowing your calf anatomy helps you target the right areas; focus on the gastrocnemius and soleus muscles. Adjust your seating so your calves are supported and accessible, without twisting or overstretching. Rest your foot on your opposite knee or a raised surface for better access. Finding a comfortable, stable position ensures you can use your massage gun effectively without discomfort or strain.
Adjust Gun Angle Properly
Adjusting the gun angle correctly is essential for targeting your calf muscles effectively. Think of it like guitar tuning—finding the right pitch, or in this case, the right angle, ensures maximum relief. Just as precise cooking techniques bring out flavors, proper positioning maximizes your massage gun’s benefits. To help, consider this table:
| Positioning Tip | Why It Matters | Example |
|---|---|---|
| Keep the gun perpendicular | Ensures even pressure | Like tuning strings evenly |
| Adjust for muscle curves | Targets specific areas | Similar to carving techniques |
| Maintain comfortable angle | Prevents strain, improves access | Like flipping a pancake evenly |
| Use slight tilt if needed | Reaches hard-to-access spots | Like adjusting stove heat |
Additionally, understanding muscle anatomy can help you adjust the gun angle more precisely for different calf regions.
Ensure Full Calf Coverage
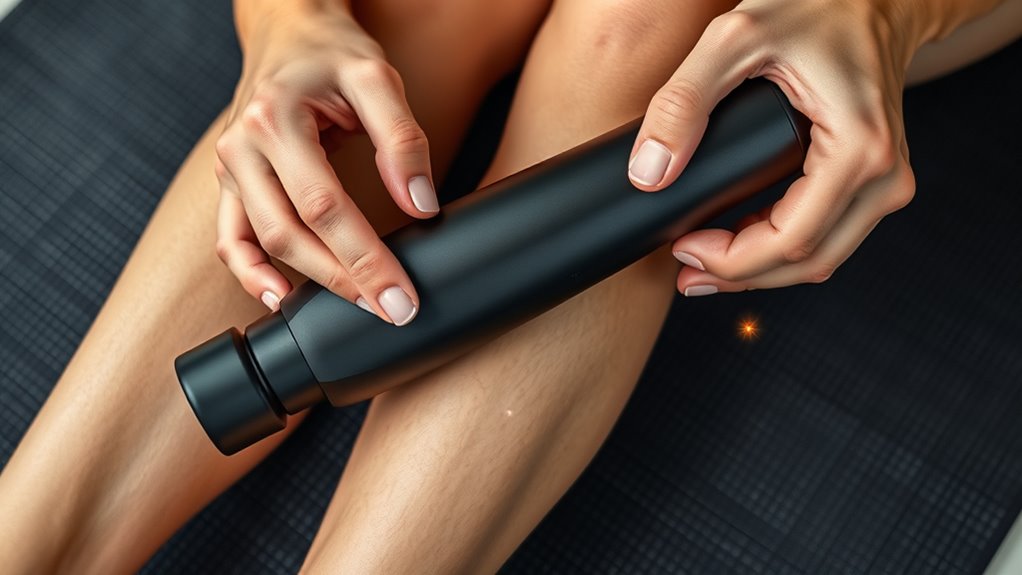
Positioning yourself properly guarantees you can cover the entire calf muscle during massage. Understanding calf anatomy helps you target key areas with effective massage techniques. To guarantee full calf coverage:
- Sit comfortably with your leg extended or slightly bent.
- Position your massage gun along the length of your calf, from the Achilles tendon to the knee.
- Adjust your body so you can freely move the gun across both the inner and outer calf muscles.
- Use slow, deliberate strokes to follow the muscle fibers, ensuring no spots are missed.
- Being aware of your unit’s age can help you tailor your massage to address areas prone to stiffness or strain.
This setup allows you to access all parts of your calves, promoting better relief and flexibility. Proper positioning helps you maximize each massage session, targeting tight spots efficiently.
Identifying Tense or Painful Areas in Your Lower Legs
You can start by feeling for tight or hard spots in your calves, which often indicate muscle tension. Pay attention to signs of discomfort, like burning or soreness, especially during movement or stretching. Recognizing these areas helps you target relief and prevent further strain. Incorporating regular monitoring of your muscle health can improve your overall calf care routine.
Spotting Muscle Tension
Muscle tension in the lower legs often signals areas that need attention, and recognizing these spots is essential for relief. To spot tense muscles, pay close attention to pain, tightness, or knots you feel during daily activities. Here are some tips:
- Feel for tender or knotty spots that don’t loosen with gentle pressure.
- Notice if certain areas become more painful after exercise or prolonged standing.
- Check for swelling or firmness, which can indicate tension buildup.
- Combine these observations with your hydration tips and stretch routines to target tight muscles effectively.
Identifying these tense spots helps you decide where to focus your massage gun, promoting better recovery and flexibility. Regularly spotting and addressing tension keeps your lower legs healthy and ready for activity.
Recognizing Discomfort Signs
Recognizing discomfort signs in your lower legs is essential for identifying areas that need attention. You might notice tightness, soreness, or a burning sensation, indicating tense or painful spots. Pay close attention to any swelling or tenderness, which can signal overstressed muscles. Keep in mind that staying well-hydrated offers hydration benefits that help prevent muscle cramps and reduce discomfort. When using your massage gun, adjusting massage frequency is key—start gently and increase intensity gradually, focusing on areas that feel tense or sore. Regularly checking in with your body ensures you don’t overlook signs of strain, so you can target specific spots effectively. Incorporating proper placement of your massage device enhances its effectiveness and safety during use. Recognizing these discomfort signs early helps optimize your calf relief routine and prevents future issues.
Starting With Gentle, Light Pressure
To begin relieving calf tension, it’s best to start with gentle, light pressure. This helps you avoid overstimulation and allows your muscles to relax gradually. Understanding calf anatomy helps target the right areas without causing discomfort. Here are four tips to get started:
- Use minimal pressure to avoid overloading sensitive muscles.
- Keep the massage gun at a low speed to maintain control.
- Focus on the wider calf muscle areas before narrowing down.
- Regularly check your massage gun for proper maintenance to prevent unnecessary discomfort.
- Recognizing the importance of offensive security measures can enhance your overall approach to safe and effective massage techniques.
Starting softly ensures you’re not irritating the muscles or risking injury. As you become more comfortable, you can increase pressure gradually. Remember, gentle is key when working with your calf muscles and maintaining your massage gun properly.
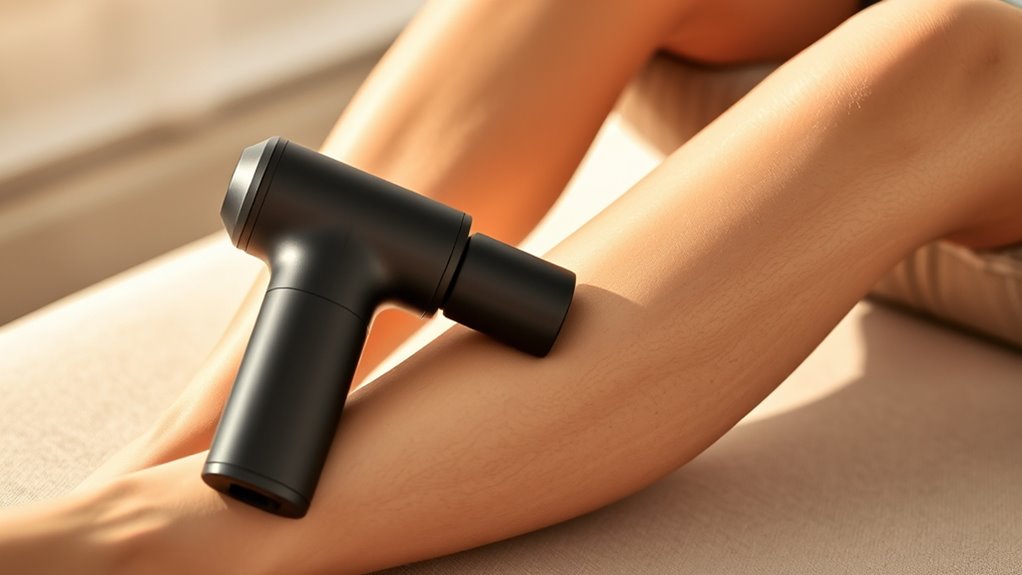
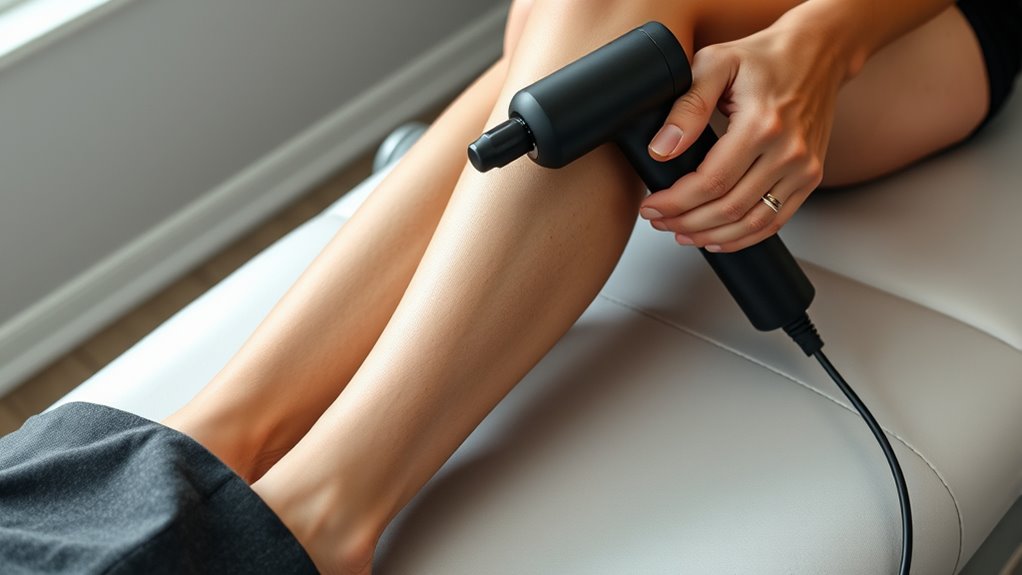
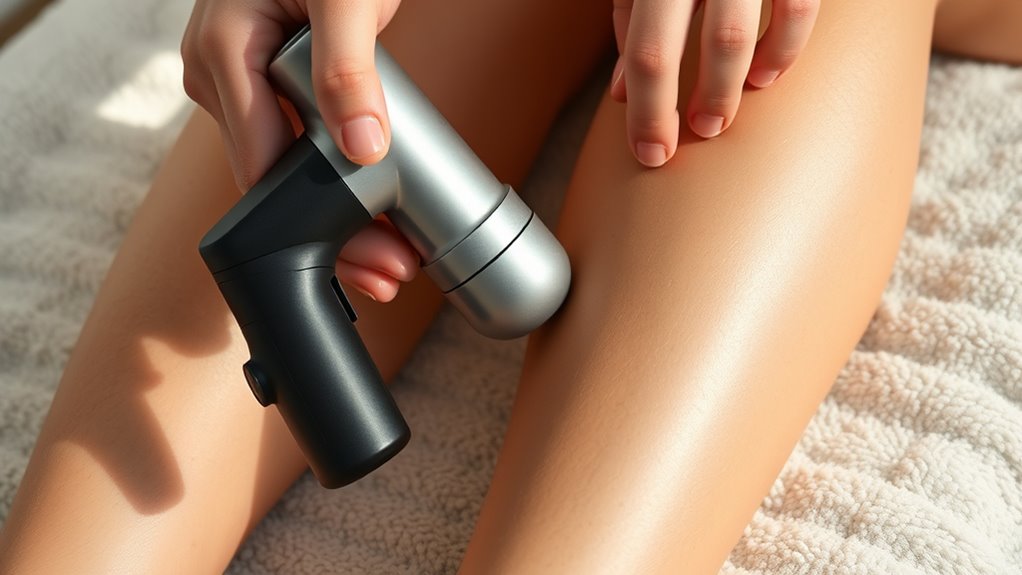
Moving the Massage Gun in Slow, Controlled Motions
Moving the massage gun slowly and with control guarantees you target the calf muscles effectively without causing discomfort. This technique overview emphasizes deliberate, steady motions to ensure even pressure distribution. Moving too quickly or jerking the device can lead to missed spots and increase the risk of soreness or irritation. Common mistakes include rushing through the massage or applying uneven pressure, which diminishes the benefits and may cause discomfort. Instead, keep your movements smooth and deliberate, focusing on covering the entire calf area systematically. Maintain light to moderate pressure and avoid pressing too hard. By controlling your pace and motion, you optimize muscle relaxation and recovery while minimizing potential discomfort or injury. Incorporating proper sound techniques can also enhance the effectiveness of your massage routine.
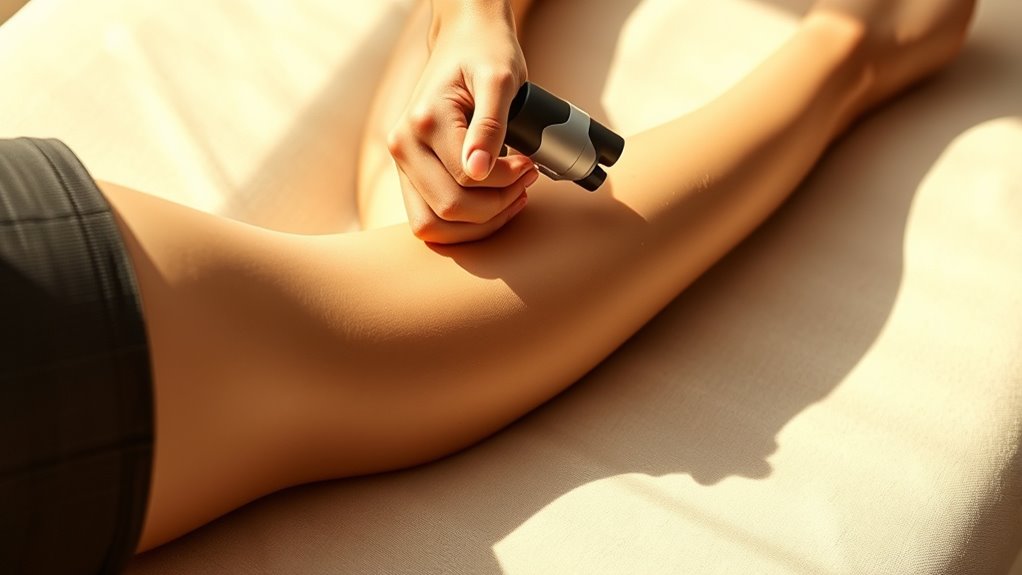
Focusing on Specific Muscle Groups and Trigger Points
Focusing on specific muscle groups and trigger points allows you to target areas that need the most relief. Understanding calf anatomy helps you identify key spots like the gastrocnemius and soleus muscles. Use massage techniques such as gentle pressure, slow movements, and sustained holds to effectively release tension. Here are some tips:
Target tight calf muscles and trigger points with gentle pressure, slow movements, and sustained holds for effective relief.
- Locate tight spots or knots in your calf muscles.
- Apply gentle pressure directly on trigger points.
- Hold the massage gun until you feel relief, avoiding overdoing it.
- Move slowly along the muscle fibers to ensure thorough coverage.
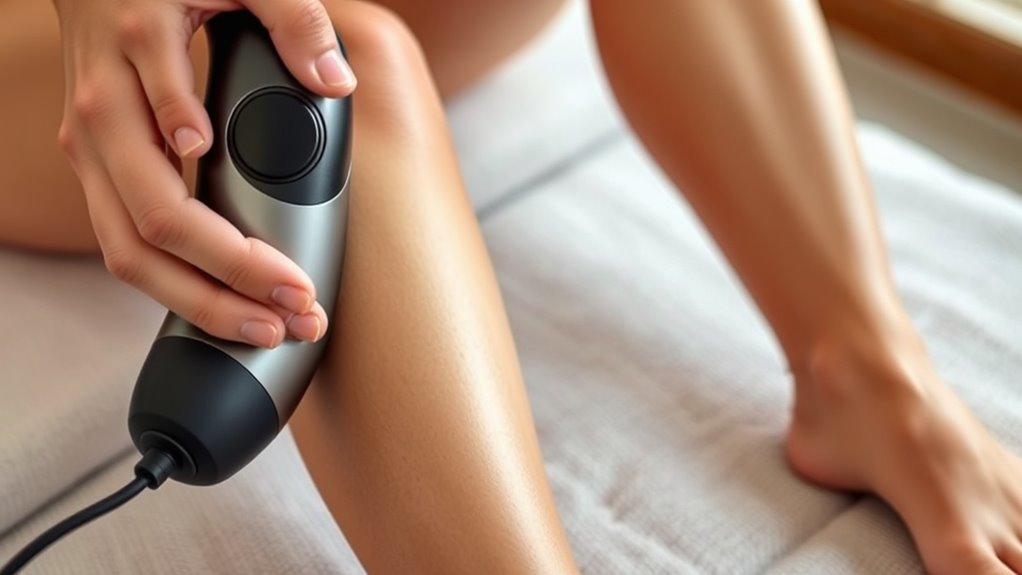
Adjusting Speed and Intensity as Needed
As you work on your calves, it’s important to adjust your speed and intensity based on how you feel. Choose a pace that feels comfortable without rushing, and apply enough pressure to target tight areas without causing discomfort. Keep an eye on your signals—if anything feels painful or off, ease up and modify your approach accordingly. Incorporating relaxation techniques during and after your massage can further enhance muscle recovery and reduce tension.
Selecting Appropriate Speed
How do you determine the right speed for calf relief exercises? The key is to match the speed to your muscle recovery needs and comfort level. Faster speeds can target tight, sore muscles, while slower speeds help relax and loosen tissue. To find what works best, consider these steps:
- Start with a low speed to assess sensitivity.
- Gradually increase if you feel comfortable, focusing on massage techniques.
- Pay attention to how your calves respond—adjust if you experience pain or discomfort.
- Use higher speeds for deeper muscle relief, especially after intense activity.
- Remember to safety precautions and avoid overdoing it to prevent injury.
Choosing the right speed enhances your massage sessions, helping you recover faster and improve circulation. Always listen to your body and adjust accordingly for effective calf relief.
Modulating Pressure Levels
Adjusting pressure levels during calf relief exercises is essential to guarantee comfort and effectiveness. You can achieve this through pressure modulation, which involves fine-tuning the massage gun’s speed and intensity. If the sensation feels too intense or uncomfortable, decrease the pressure or speed to prevent soreness. Conversely, if you want deeper relief, increase the pressure gradually. Use sensation adjustment to find the right balance for your comfort and goals. Keep in mind that consistent communication with your body helps avoid overstimulation. Here’s a quick guide:
| Pressure Level | Sensation Adjustment |
|---|---|
| Low | Gentle, relaxing, minimal pain |
| Medium | Moderate, noticeable relief |
| High | Deep, intense relief |
| Very High | Potential discomfort, avoid |
| Custom | Adjust as needed |
This approach ensures a safe, effective calf relief routine. Additionally, understanding your home layout and cleaning needs can help you choose the right robot vacuum for maintenance.
Monitoring Comfort Signs
Monitoring your comfort signs while using a massage gun guarantees you get the relief you want without overdoing it. Pay attention to how your calves respond, especially regarding muscle soreness or discomfort. If you notice pain or excessive soreness, consider adjusting the speed or intensity. Keep these tips in mind:
- If your muscles feel tender or sore, lower the speed or intensity to prevent overstimulation.
- If you experience numbness or unusual tingling, reduce the pressure immediately.
- For a circulation boost, a gentle, steady pace works best; increase gradually if comfortable.
- Watch for any swelling or persistent soreness that doesn’t improve—stop and consult a professional if needed.
- Being aware of data privacy concerns can help you make informed decisions about your health and device usage.
Monitoring your signs ensures effective relief and safe use of your massage gun.
Avoiding Sensitive Areas and Bony Prominences
To prevent discomfort or injury, it’s vital to avoid applying pressure directly on sensitive areas and bony prominences when caring for a calf. These spots, like the shin bone and ankle bones, are more vulnerable due to nerve sensitivity. Applying pressure here can cause pain or nerve irritation. Focus on the softer, muscular areas instead, guaranteeing your massage gun doesn’t contact bones or fragile skin. Keep your movements gentle and controlled, and avoid lingering on bony prominences. This approach helps protect your skin from unnecessary friction or bruising, reducing the risk of irritation. Remember, the goal is to target muscles without compromising skin protection or nerve comfort. Being mindful of these areas ensures a safe, effective calf massage experience. Additionally, understanding vibrational energy can enhance your relaxation and recovery, making it even more beneficial.
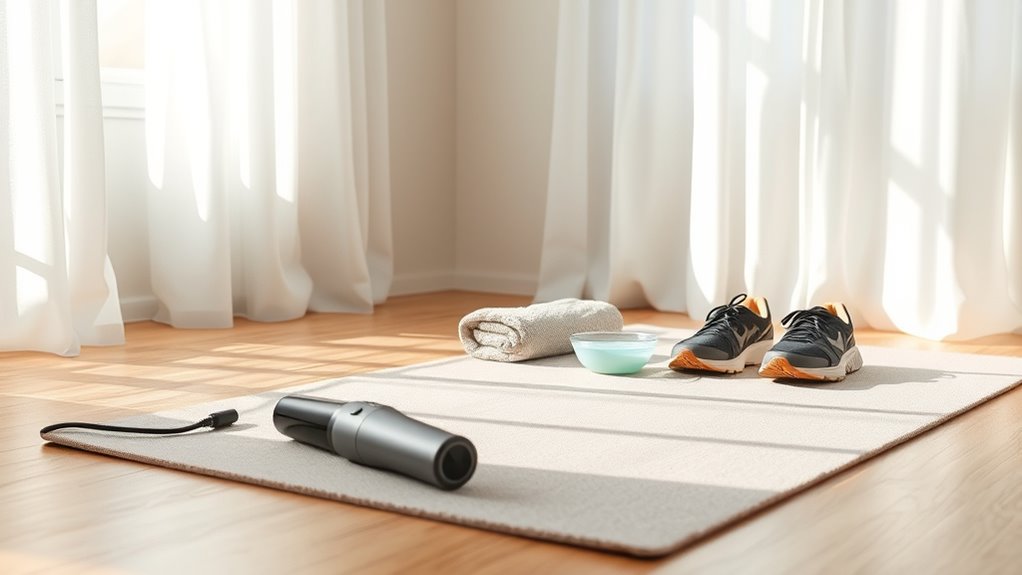
Finishing Up and Post-Massage Care Tips
Once you’ve finished massaging your calves, it’s important to wrap up properly and care for your skin afterward. First, gently remove any remaining lotion or oil to prevent irritation. Next, hydrate your body with water—hydration tips like drinking a glass of water help flush out toxins and reduce soreness. Then, incorporate light stretching routines to maintain flexibility and enhance recovery. Finally, apply a soothing moisturizer to keep your skin hydrated and prevent dryness. Remember, staying hydrated and stretching regularly after your massage can improve results and reduce muscle tightness. Additionally, understanding your body’s financial health can help you plan for future wellness investments and prevent stress related to financial burdens. Avoid strenuous activity immediately afterward, and give your calves time to rest and recover. These simple post-massage care tips ensure you get the most benefits from your calf relief session.
Frequently Asked Questions
How Often Should I Use My Massage Gun on My Calves?
You might wonder about the frequency guidelines for your massage gun on calves. Typically, using it 2-3 times a week is enough for relief and recovery. For ideal timing, apply it after workouts or during muscle soreness to help improve circulation and reduce tension. Avoid overusing it to prevent skin irritation or bruising. Listen to your body, and adjust the frequency based on how your calves respond.
Can I Use a Massage Gun if I Have Calf Injuries?
If you have calf injuries, it’s best to avoid using a massage gun until you consult a healthcare professional. Using it prematurely can worsen muscle tension or delay injury prevention. Massage guns are great for relieving tension, but they should be used carefully around injuries. Once cleared, gentle use can help improve blood flow and support recovery, but always prioritize professional advice to prevent further damage.
What Signs Indicate I Should Stop Using the Massage Gun?
Imagine your muscles are a delicate garden; pushing too hard can cause weeds of pain to sprout. If you notice muscle fatigue intensifying or skin irritation appearing like a fiery blaze, it’s time to stop. These signs show your body’s signals to rest. Ignoring them risks deeper injury or inflammation. Pay close attention, listen to your body’s whispers, and cease use before discomfort turns into damage.
Is It Safe to Use a Massage Gun on Both Calves Simultaneously?
Using a massage gun on both calves simultaneously can be safe if you’re cautious. It allows for dual calf massage and synchronized therapy, which can save time and promote balanced relief. However, make certain you don’t apply too much pressure, keep sessions brief, and listen to your body. If you experience discomfort or pain, stop immediately. Always follow manufacturer instructions and consult a healthcare professional if unsure.
How Long Should Each Calf Massage Session Last?
Ever wondered how long is too long when massaging your calves? For safe and effective relief, stick to the recommended duration guidelines. Typically, a session length of 1-2 minutes per calf is ideal, focusing on gentle, consistent pressure. Avoid overdoing it, as prolonged sessions can cause discomfort or irritation. Keep your sessions brief but regular, and listen to your body’s signals to prevent overstimulation.
Conclusion
Think of your calves as a garden needing gentle tending. With your massage gun, you’re watering and nurturing tired muscles back to life. By following these steps, you’re tending to your lower legs like a skilled gardener, ensuring they stay healthy and vibrant. Regular care keeps your muscles resilient, ready to support your every step. So, embrace this routine as a essential part of your self-care, and watch your calves flourish with renewed strength and comfort.