To create a DIY calf recovery circuit at home, combine simple massage techniques with percussion movements using household items like massage balls, rolling pins, or soft objects. Alternate gentle pressure and rhythmic tapping along your calves to boost blood flow, relax muscles, and ease soreness. Spend a few minutes on each area, adjusting intensity as needed. If you keep practicing, you’ll discover more tips to optimize your recovery routine and stay comfortable.
Key Takeaways
- Combine gentle massage with rhythmic tapping using household items like a massage ball or rolling pin.
- Alternate between 1-2 minutes of kneading and percussion on different calf sections for balanced relief.
- Incorporate mindful breathing to enhance muscle relaxation during your DIY calf recovery circuit.
- Use controlled, moderate pressure, avoiding pain to prevent discomfort and maximize effectiveness.
- Maintain consistency and gradually increase intensity for faster recovery and reduced post-exercise soreness.
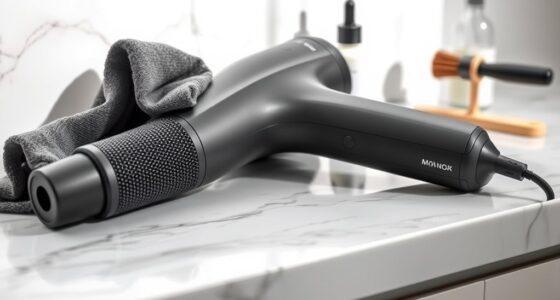
If you’re looking for an effective way to relieve muscle tension and improve recovery without expensive equipment, DIY percussive therapy is a practical solution. You can create a simple calf recovery circuit at home that combines effective massage techniques with targeted percussion to promote muscle relaxation. The goal is to stimulate blood flow, release knots, and ease soreness, all without needing professional tools. Start by understanding how to use your hands and everyday objects to mimic the effects of percussion therapy. Gentle tapping or rhythmic pressure with your fingertips or a massage ball can produce similar benefits, helping to break up tightness and encourage relaxation.
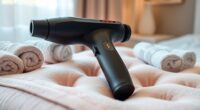
DIY percussive therapy uses simple techniques and household items to relax muscles and boost recovery at home
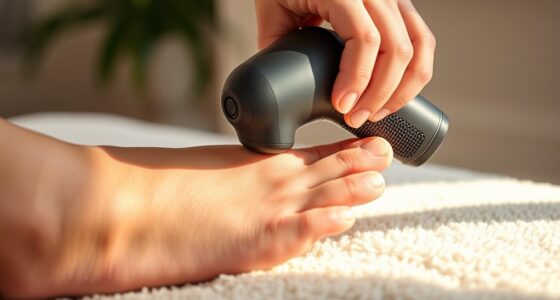
For your calf muscles, focus on applying consistent, moderate pressure along the length of your calves. Use your fingers to perform massage techniques like kneading and circular motions on tight spots or areas where you feel knots. This helps increase circulation and triggers muscle relaxation. To intensify the effect, you can incorporate tapping motions, lightly striking the muscle with your fingertips or a soft object like a massage ball. The rhythm and repetitive nature of these movements act as a percussive stimulus, which can be surprisingly effective at loosening tight muscles and reducing soreness. Remember to keep your movements controlled and avoid excessive pressure to prevent discomfort.
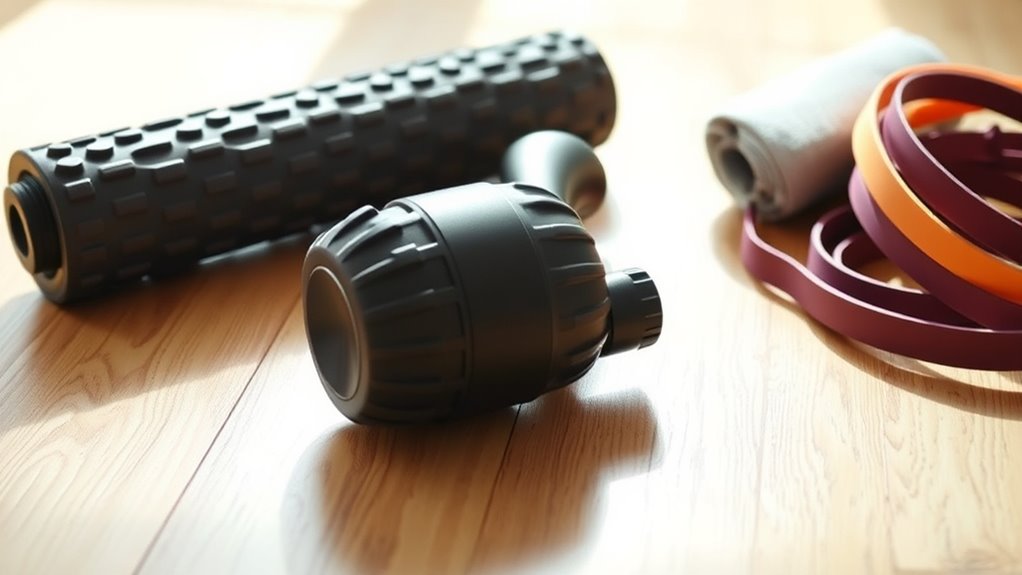
A practical way to build your DIY calf recovery circuit is to alternate between massage techniques and percussion-like tapping. Begin with gentle kneading to warm up the muscle tissue, then switch to rhythmic tapping or light percussion to work on deeper tension. Move slowly along the calf, spending about 1-2 minutes on each section, and focus on areas that feel especially tight or tender. As you progress, increase the intensity gradually, ensuring you stay within a comfortable range. This combination of massage techniques and percussion-like movements mimics professional muscle therapy, but with materials and skills readily available at home. Incorporating mindfulness and breathing exercises during your routine can enhance muscle relaxation further. Deep, slow breaths help reduce overall tension and improve the effectiveness of your massage. Additionally, consider using household items like a rolling pin or a cold pack to complement your therapy, providing extra relief and promoting blood flow. Keep your pace steady, and listen to your body—if any movement causes pain, adjust your pressure or stop. With consistency, this DIY calf recovery circuit can become an essential part of your post-exercise routine, helping you recover faster and stay active with less discomfort.
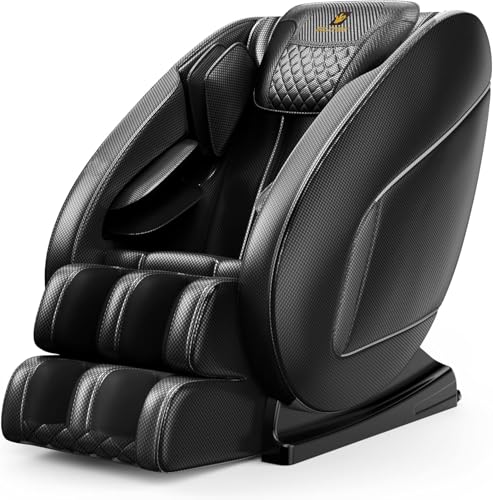
BILITOK Massage Chair Recliner with Zero Gravity with Full Body Air Pressure, Speaker and Blue-Tooth Connection, Easy to Use at Home and in The Office
【Zero Gravity Massage】:Pressing the zero gravity button, the zero gravity massage chair lifts the feet to the same...
As an affiliate, we earn on qualifying purchases.
Frequently Asked Questions
Can I Use Household Items Instead of Professional Percussive Devices?
You might wonder if household alternatives can replace professional percussive devices. While some items like a massage ball or foam roller can provide relief, they don’t deliver the same percussive effect. Be cautious about DIY safety—avoid using objects that could cause injury or discomfort. Always listen to your body, start slow, and consult a healthcare professional if you’re unsure. Proper technique guarantees safe, effective calf recovery at home.
How Long Should Each Session Last for Optimal Recovery?
For ideal timing, aim for session durations of 1 to 2 minutes per calf, focusing on consistency. You should listen to your body and avoid overdoing it, as excessive percussive therapy can cause discomfort. If you experience pain or prolonged soreness, reduce your session length or frequency. Regular, moderate sessions help promote circulation, reduce tightness, and support recovery without risking overstimulation.
Are There Any Risks or Contraindications for DIY Percussive Therapy?
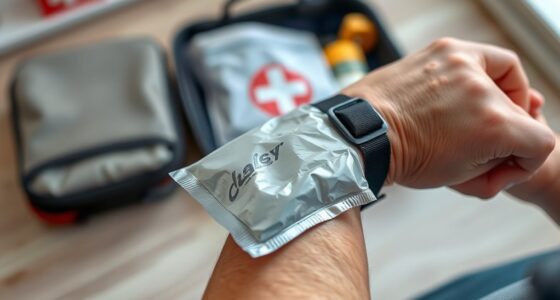
When considering DIY percussive therapy, it’s crucial to understand safety precautions and individual risks. You should avoid using the device over bony areas, broken skin, or swollen regions to prevent injury. If you have health conditions like blood clots, nerve damage, or are pregnant, consult a healthcare professional first. Always start with gentle settings and listen to your body to minimize risks and ensure safe, effective recovery.
How Do I Know if My Calf Is Over-Treated or Injured?
You’ll notice if your calf is over-treated or injured by persistent muscle soreness, pain, or swelling that doesn’t improve. If you feel sharp or worsening pain during or after therapy, that’s a sign to stop and rest. Injury signs include bruising or limited movement. Pay attention to your body’s signals, and if symptoms persist or intensify, consult a healthcare professional to prevent further damage.
Can I Combine DIY Therapy With Other Recovery Methods?
You can definitely combine DIY therapy with other recovery methods; it’s the best of both worlds. By integrating methods like stretching, foam rolling, or ice, you give your calf a well-rounded approach. Just remember, don’t bite off more than you can chew, and listen to your body. Combining therapies can speed recovery, but keep an eye on how your calf responds to avoid overdoing it.

Lvrunben Shiatsu Back Massager with Heat, 3D Kneading Massage Chair Pad, Electric Massage Seat Cushion for Body, Neck,Shoulder, with Movable Multi-Function Leg and Foot Massager, for 62-69 inches
Please Note Before Use:If there is pain when using the massager, this is a normal phenomenon, because the...
As an affiliate, we earn on qualifying purchases.
Conclusion
Now you’ve crafted your own percussion therapy circuit, turning your home into a healing sanctuary. Think of this DIY setup as your personal tune-up station, revving up your muscles and banishing soreness like a skilled mechanic. With a little ingenuity and hands-on effort, you’ve discovered a powerful tool for recovery that’s always within reach. Keep this device close, and let it be your loyal ally, turning muscle fatigue into strength and resilience—right in the comfort of your own space.
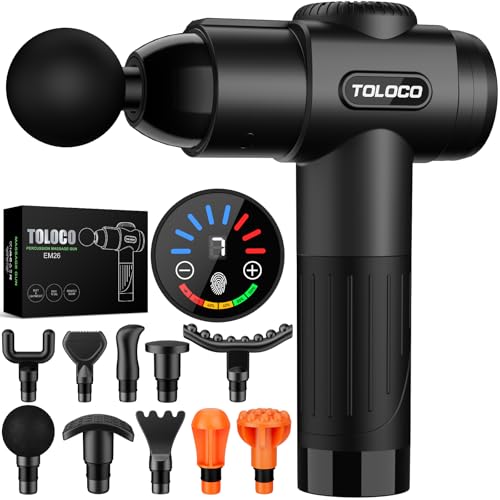
TOLOCO Massage Gun, Deep Tissue Back Massage for Athletes for Pain Relief, Percussion Massager with 10 Massages Heads & Silent Brushless Motor, Valentines Day Gifts for Him Her, Black
Quick Pain Relief: The TOLOCO deep tissue massage gun has a high penetration force of 12mm, up to...
As an affiliate, we earn on qualifying purchases.
![RENPHO Active Thermacool 2 Massage Gun with Heat and Cold, [2026 Upgraded] Percussion Deep Tissue Handheld Neck Massager, FSA Approved, Muscle Masajeador for Men Women Athletes HSA](https://m.media-amazon.com/images/I/41k2SDzAL3L._SL500_.jpg)
RENPHO Active Thermacool 2 Massage Gun with Heat and Cold, [2026 Upgraded] Percussion Deep Tissue Handheld Neck Massager, FSA Approved, Muscle Masajeador for Men Women Athletes HSA
Command Your Recovery: With its integrated VA display, the RENPHO Percussion Massage Gun allows you to clearly monitor...
As an affiliate, we earn on qualifying purchases.